Please read the following guide, as they go into detail about how to successfully print using the Papercut Client and describes the printing process.
Initial setup
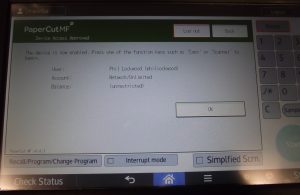
When you are going to use a printer for the first time, you will have to link your fingerprint to your computer account. To do this all you need to do is place your finger on the reader and your name will appear on the reader.
- Once you have placed your finger on the reader it should appear with your name, if this does not please contact IT Support.
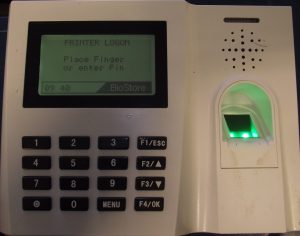
Fingerprint Reader
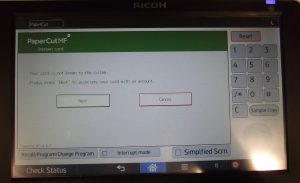
2. The printer will say “your card is not known to this system.” Please click next to proceed.
3. You will be presented with a login screen and you need to enter your computer login details.
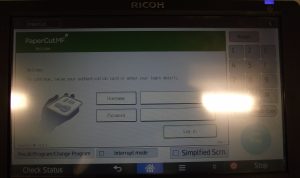
4. Once you click login you will get a message saying “Card successfully associated with account #########” then press Ok.
5. If you place your finger on the reader again, it will log you into the printer.
Printing from a Windows PC
Please follow the guide below for the guidelines of printing from a windows PC or laptop.
- Select the print option on your desired application (email, Word, Excel etc).
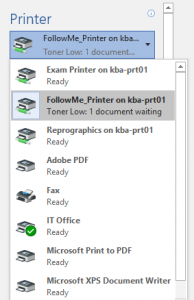
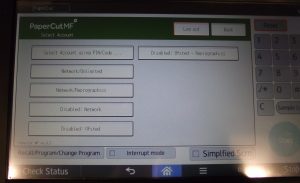
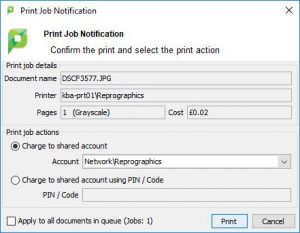
- When you click print, the Papercut client should appear on screen. You must select the account that either has your department and name, e.g. Science\John Smith, or Science\Unlimited if applicable. It will never be just the department name.

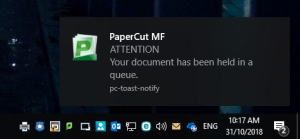
- A message will appear to tell you if you have successfully sent the document to the printer.
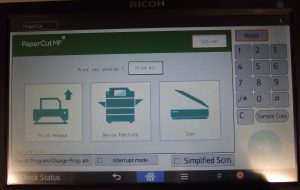
- You can now go to the printer, login using your fingerprint and release the job either by pressing Print All or Print Release.
If you charge to the wrong account, it will NOT let you release the job. Cancel it and make sure you have enough money and are selecting the right account in the Papercut client.
Scanning/copying directly from the printer
Please follow the guide below if you are photocopying or scanning material to print straight from the printer.
- Login to the printer as normal and select Device Functions.
- Select the account that either contains your name or ‘unlimited’ such as Art\John Smith or Art\Unlimited.
- Select the account and hit okay, then begin photocopying as normal.

Printing to Reprographics
Please note you cannot use the Reprographics account for photocopying or scanning.
- Select the print option for your desired application, like in the first step of this guide (email, Word, Excel etc). Ensure you select the Reprographics printer.
- Hit the print button and the Papercut client should appear. On the drop down menu you MUST select the Reprographics account for the department you are printing from g. Maths\Reprographics or Geography\Reprographics.
- You will see a message in the bottom right hand corner of the screen, this means you have successfully sent your document to the print release queue.
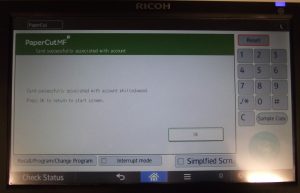
Please bear in mind, if you attempt to use the reprographics account for the FollowMe printers OR use the reprographics printer with a normal account, it will pop up the following error messages:
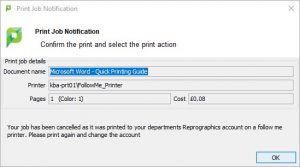
The document will be canceled by default. So ensure that the correct account and printer is selected.
Tech support contact details
If you have any IT problems, questions or queries, please get in contact in the following ways:
Via email – techsupport@ul-northants.org.uk
Via phone – IT Tech Support ext. 778
In Person – Visit our window, on the 1st floor past the principal’s suite, in the corner.
Thank you – didn’t know how to print to repro so this has helped