 The first thing to remember when connecting your Surface Pro to your projector, is never connect it wirelessly and through the dock, otherwise you will end up with displays everywhere! Choose only one method.
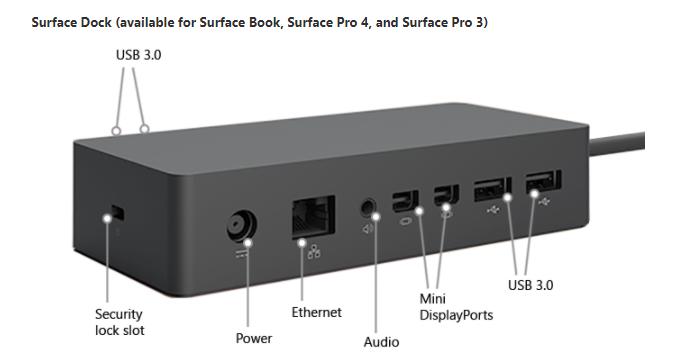
This guide will focus on connecting via the Dock in your classroom. The step by step instructions are as follows:
- Turn the projector on.
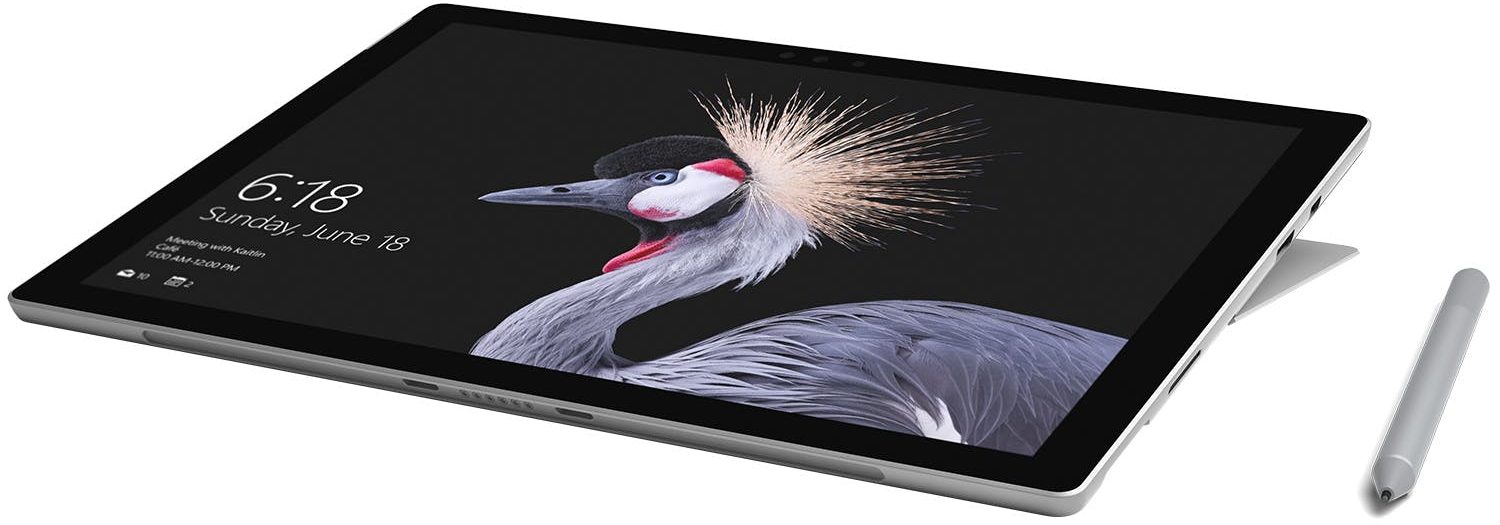
- Plug the Dock connector into your Surface Pro and check the connector lights up
- Right-click your desktop and choose “Display settings”.
- Scroll down to “Resolution” and choose the resolution “1920 x 1080”.
- As the projector cycles through the sources, your Picture should appear on the screen. You may need to select the HDMI option on the projector remote if it’s not cycling.
- You can use the display in 2 modes. Extended or duplicated. In extended mode, you have 2 screens so that you can show 2 different things at a time. To change modes, use the Windows key
 + P on the keyboard to scroll through the options.
- You can use the display in 2 modes. Extended or duplicated. In extended mode, you have 2 screens so that you can show 2 different things at a time. To change modes, use the Windows key
Windows Key + P is a quick shortcut to change display settings from duplicate, to extend to, show on only one.
This helps you to:
1. Change settings quickly if a colleague has changed it
2. Use the Surface Pro Pen to write on a PowerPoint (in duplicate) and then switch back to extend for presenter view